Security is an aspect that should never be left behind, even if we are only displaying content to general public. As per Google's strategy to favour secure traffic, they've started to penalise websites that are only on HTTP, we are going to follow this idea and add HTTPS and SSL certificate to this website.
Requesting a certificate
On AWS console, we have a Certificate Manager under Security, Identity & Compliance category. Once there, we have two choices: Import a certificate or Request a certificate. We'll use the request option. It's important for this to work with further steps to make sure we are in N. Virginia region before requesting a certificate. Click on Request a certificate button
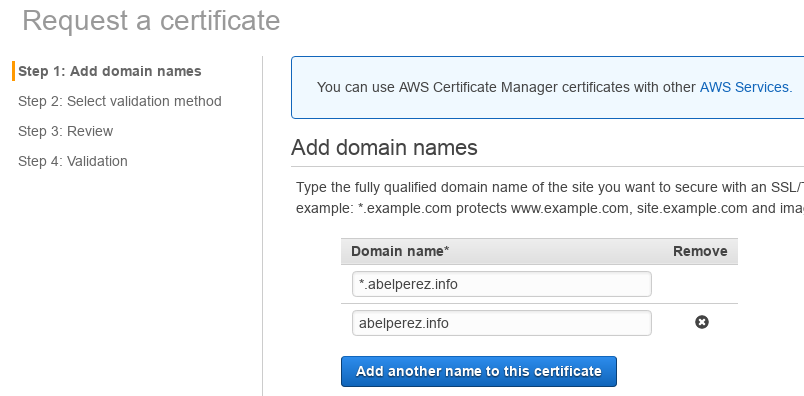
In this example, I'm interested in creating a certificate that will validate the main domain abelperez.info, the subdomain www.abelperez.info and any subdomain I create in the future, that is done by using the wildcard *.abelperez.info.
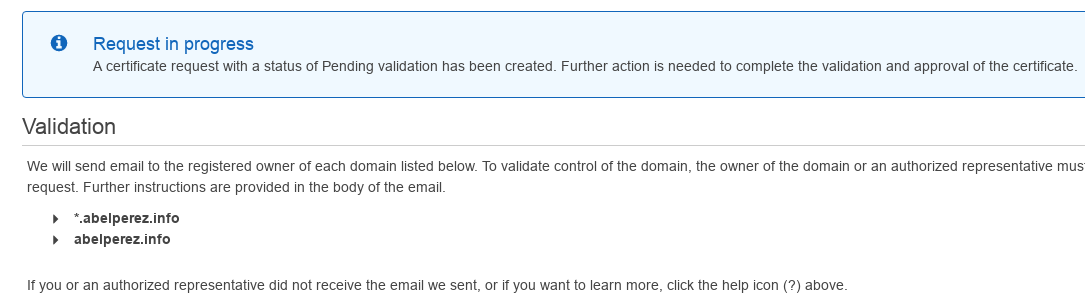
Next step is validate the identity, basically we need to prove that we in fact own the domain we are creating the certificate for. In this case I chose Email validation. The request in progress should look like this.
Verifying domain ownership
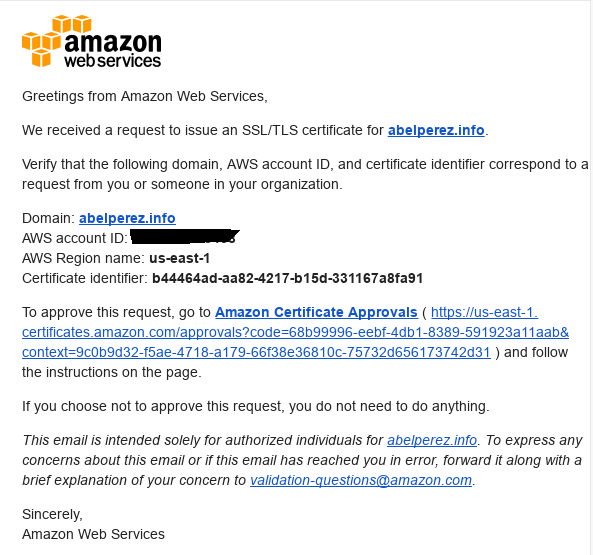
At this point, we should receive an email (or a few of them) asking to validate our email address by following a link.
The verification page looks like this one, just click I approve.
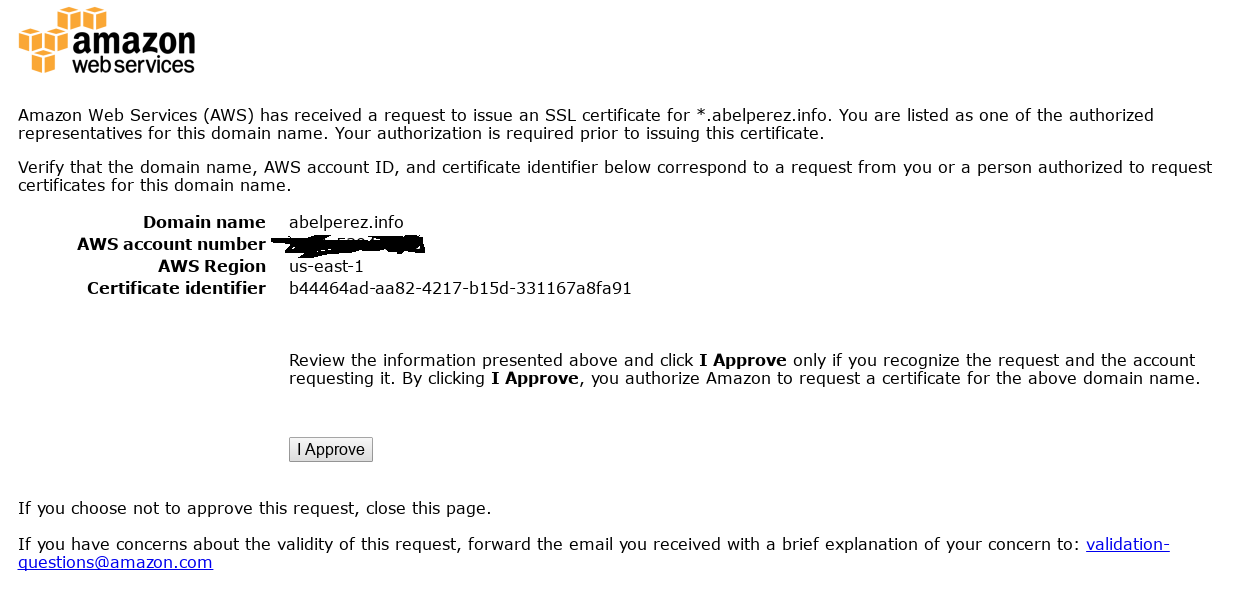
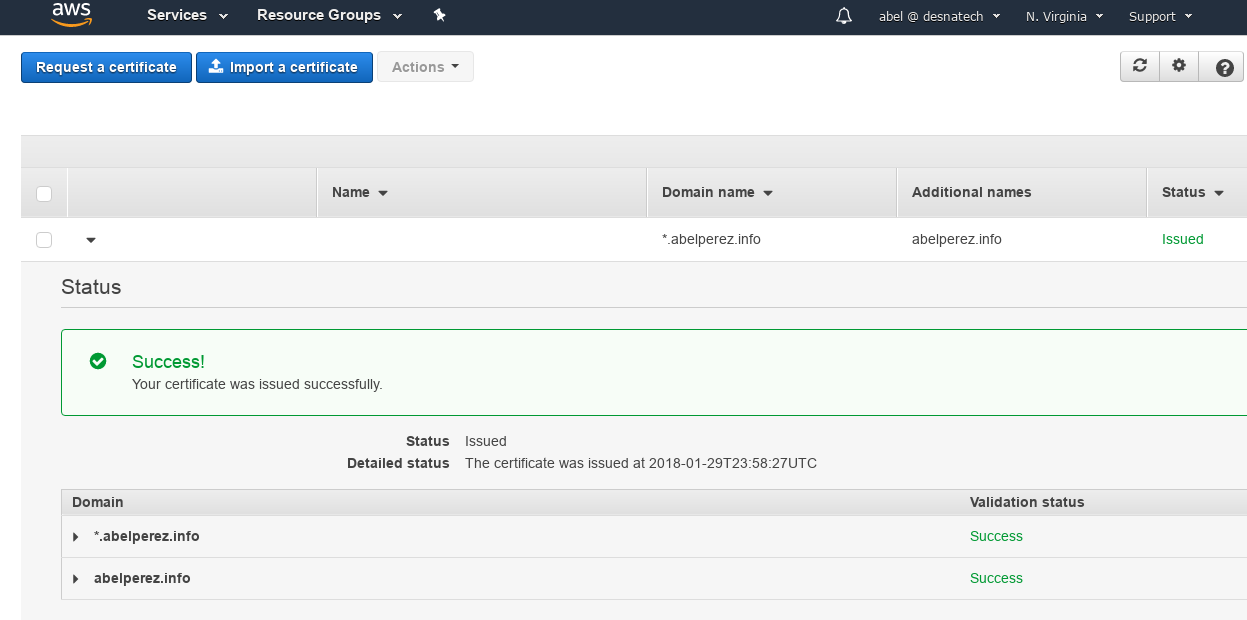
It's important to note that in this case, because I'm requesting a certificate for *.abelperez.info and abelperez.info, I'll receive two requests and I have to verify both of them, if that's your case, make sure you've verified all the requests, otherwise the operation will be incomplete, and the certificate won't be issued until all validation are completed. Once it's verified, the certificate should look like this.
Now that we have valid certificate for our domain, it can be attached to other entities like CloundFront CDN distribution, Elastic Load balancer, etc.
No comments:
Post a Comment